Manual to Load Image Data
Overview
SuperMap supports creating image cache for grid, image, and SIT files stored in UDB, ORACLE, SQLServer databases that already have image pyramids. Image cache is tiles for image data, which can optimize the publishing at the server side and browsing performance at the client side. Then SuperMap iClient3D for WebGL (abbreviated as WebGL Client) can access 3D services published by SuperMap iServer, and load image data.
This document explains how WebGL Client load and browse image data.
Operations
Here is an example to illustrate the steps.
1. Build Cache Data
Introduction
Use SuperMap iDesktop to build 3D image cache file *.sci3d for the image data, which will be helpful for 3D service publishing.
Basic Steps
1 Open SuperMap iDesktop, Workspace Manager>Datasource>Open File Datasource.
2 Select the grid dataset to generate cache, right click to display the context menu, click Create Scene Cache.

Fig. Create Scene Cache
3 In the dialog box that displays, as shown below:
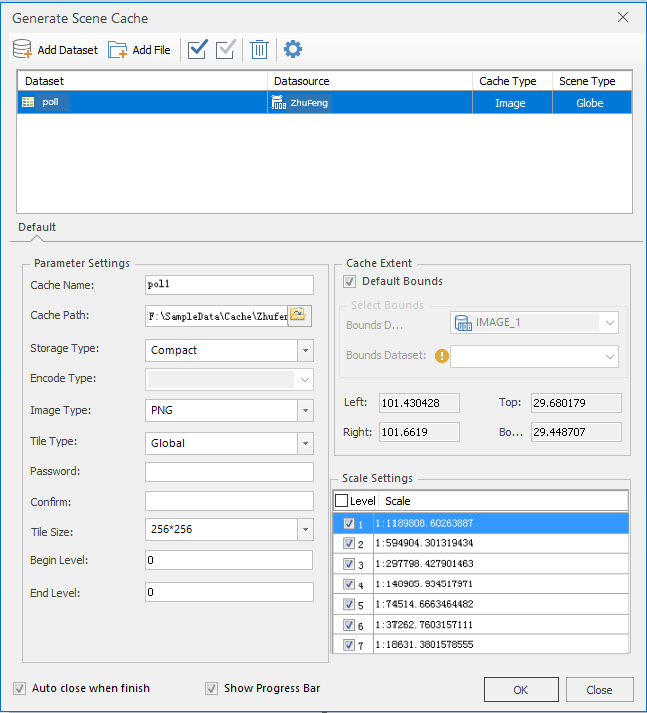
Fig. Create Scene Cache dialog box
4 Add Datasets: Click Add Dataset to select the datasets for creating cache, click OK.
- Cache Type: Image.
- Tiling Type: Global.
5 For Parameter Settings, please follow the suggestions below:
- Cache Name: Input cache name, with default being dataset name@datasource name.
- Cache Path: The output path of the cache.
- Storage Type: Compact is suggested.
- Picture Type: JPG, PNG, JPG_PNG are optional. WebGL Client does not support DXTZ.
- Tile Type: Select Global to generate *.sci3d cache.
- Tile Size: The resample size for generating tiles after caching. The unit is pixels*pixels. The default is 256*256.
- Set password according to your needs.
The Compact storage type compress and encrypt the data when caching, while the Original type keeps the original information.
Eight options are provided: 2048*2048, 1024*1024, 512*512, 256*256. You can choose the size based on your needs.
6 Keep Cache Extent and Scales by default. Click OK to generate cache.
Results
A *.sci3d configuration file will be generated at the specified output path. Moreover, there will be a folder created to store image data, as shown below.

Fig. Results
2. Publish 3D Services
Introduction
After creating cache, we will see how to publish the image cache as 3D services to allow WebGL Client to load image data.
Basic Steps
1 Open SuperMap iDesktop, Workspace Manager>Scene>New Spherical Scene.
2 Layer Manager>General Layers>Add Image Cache Layer, select the *.sci3d configuration file generated.
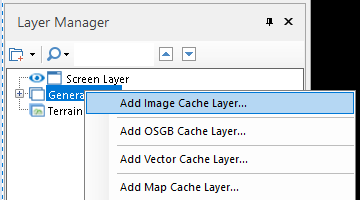
Fig. Add image cache to scene
3 After adding cache layer, save the scene and workspace.
4 Start iserver via 4 startup.bat under %SuperMap iServer_HOME%/bin.
5 Start bowser, enter Web Manager via http://localhost:8090/iserver/manager. Quickly publish a service at Home Page.
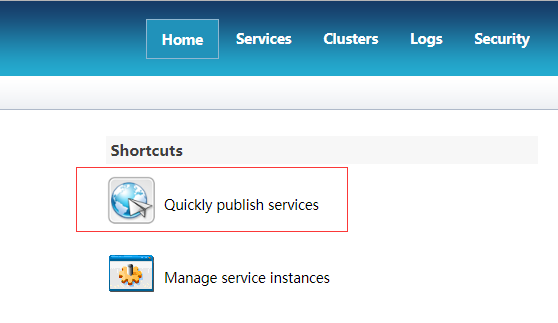
Fig. Quickly publish one or multiple services
6 In the Quickly publish service--Select datasource page, select the Workspace as the Datasource, and click Next.
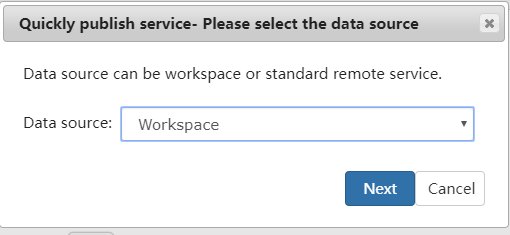
Fig. Select the Workspace as the Datasource
7 In the Quickly publish service--Configure data page, click Remote Browse to select the workspace, click Next.
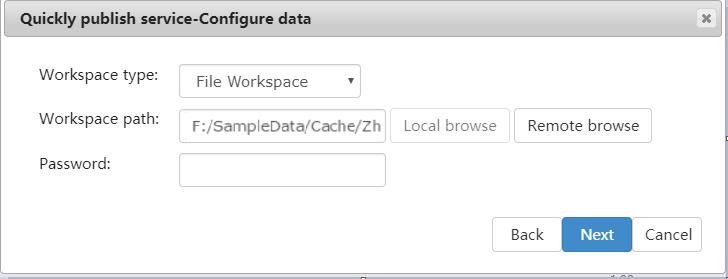
Fig. Select the workspace
8 In the Quickly publish service--Select service type page, Select REST 3D Service, click Next.

Fig. Select REST 3D Service
When finished, click Finish and Close.
Results
The service displays in the service list http://localhost:8090/iserver/services, as shown below.
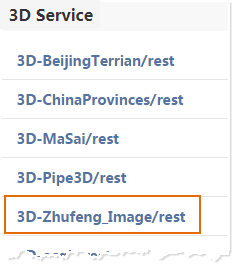
Fig. The published service
3. Load Image Data at Client Side
Introduction
After publishing service, WebGL Client can load the image data.
Please place WebGL package at %SuperMap iServer_HOME%/webapps.
Basic Steps
1 Get the url of the 3D data.
- Enter http://localhost:8090/iserver/services and find the published 3D service.
- Enter root directory page, click realspace.
- Enter 3D page, click datas.
- Enter datas page, click links below.
- Enter data page, copy the address of the url.

Fig. Copy url address
2 Enter WebGL package in %SuperMap iServer_HOME%/webapps, open terrainAndImagery.html in text editor under the examples folder, change the address in SuperMapimageryProvider() to the address we just copied, as shown below.
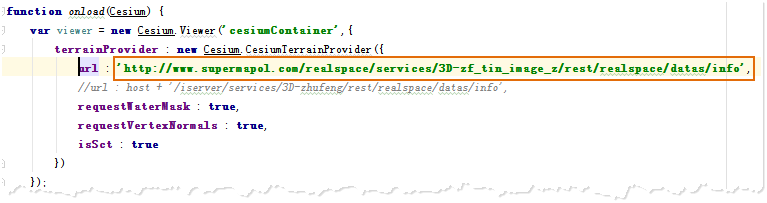
Fig. Change parameter
3 Open the terrainAndImagery.html page, that is, enter the url http://localhost:8090/%WebGL Package%/examples/terrainAndImagery.html in the browser.
Results
After you open the page, the camera flies to the position of the image data, as shown below.
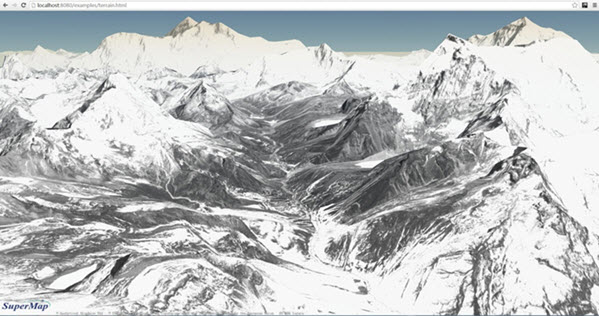
Fig. Image loaded at WebGL Client
Note: For more information about how to load terrain data, please refer to Load Terrain Data.